

The net: what better time to address this important topic than after summer holidays? This topic is really extensive and involves all the issues we have already discussed in previous articles.
The post scheme, the posts section and spacing, the anchors size, distance and quantity, the diameter and the position of wires and cables, the type of hoods: all these aspects of an installation depend on the covering material and, in particular, whether it is net or film. Everything we have mentioned so far in our previous articles is based on the assumption that we were going to install an anti-hail system when finishing the installation. However, if, on the other hand, the cover we are planning to install is an anti-rain system, we should proceed in a completely different way.
Do you remember that we talked about wind as the element that affects the most the whole installation? This is when it becomes most relevant, varying its effect depending on the permeability of the covering material.
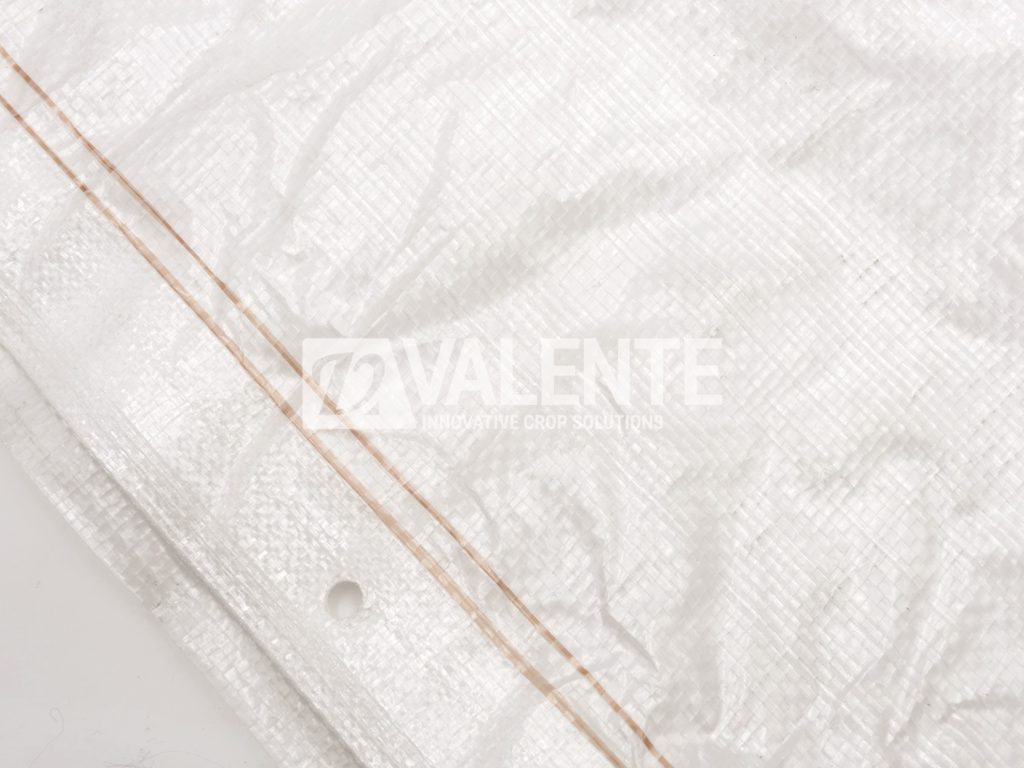
Starting from the least permeable material of all, i.e. the anti-rain film, which can block 100% of the wind, to the bird nets (its presence is almost irrelevant for the purposes of this discussion), we should carefully analyse how much air the material can block in order to implement the appropriate resistance strategies. Without entering into details in this article, Valente proposes specific anti-rain and shade systems with permeability percentages ranging from 30% to 0%, which therefore require the installation of shade netting or anti-rain films.
The anti-hail system has proved suitable with materials featuring a permeability of 30%, which brings us to the issue of their so-called polyfunctionality. With a permeability of just over 30%, the net can protect not only against hail but also against insects, birds, sun and wind. In order to take advantage of this polyfunctionality we have to consider two factors in particular: the mesh size (from the regular size 2.8x8mm of anti-hail net to the 0.84x1.17mm of the Suzuki net, which guarantees protection even from the tiny midge that affects our cherries) and the net colour, which in black can protect up to 20% from the sun, a percentage that is often enough to avoid damaging burns.
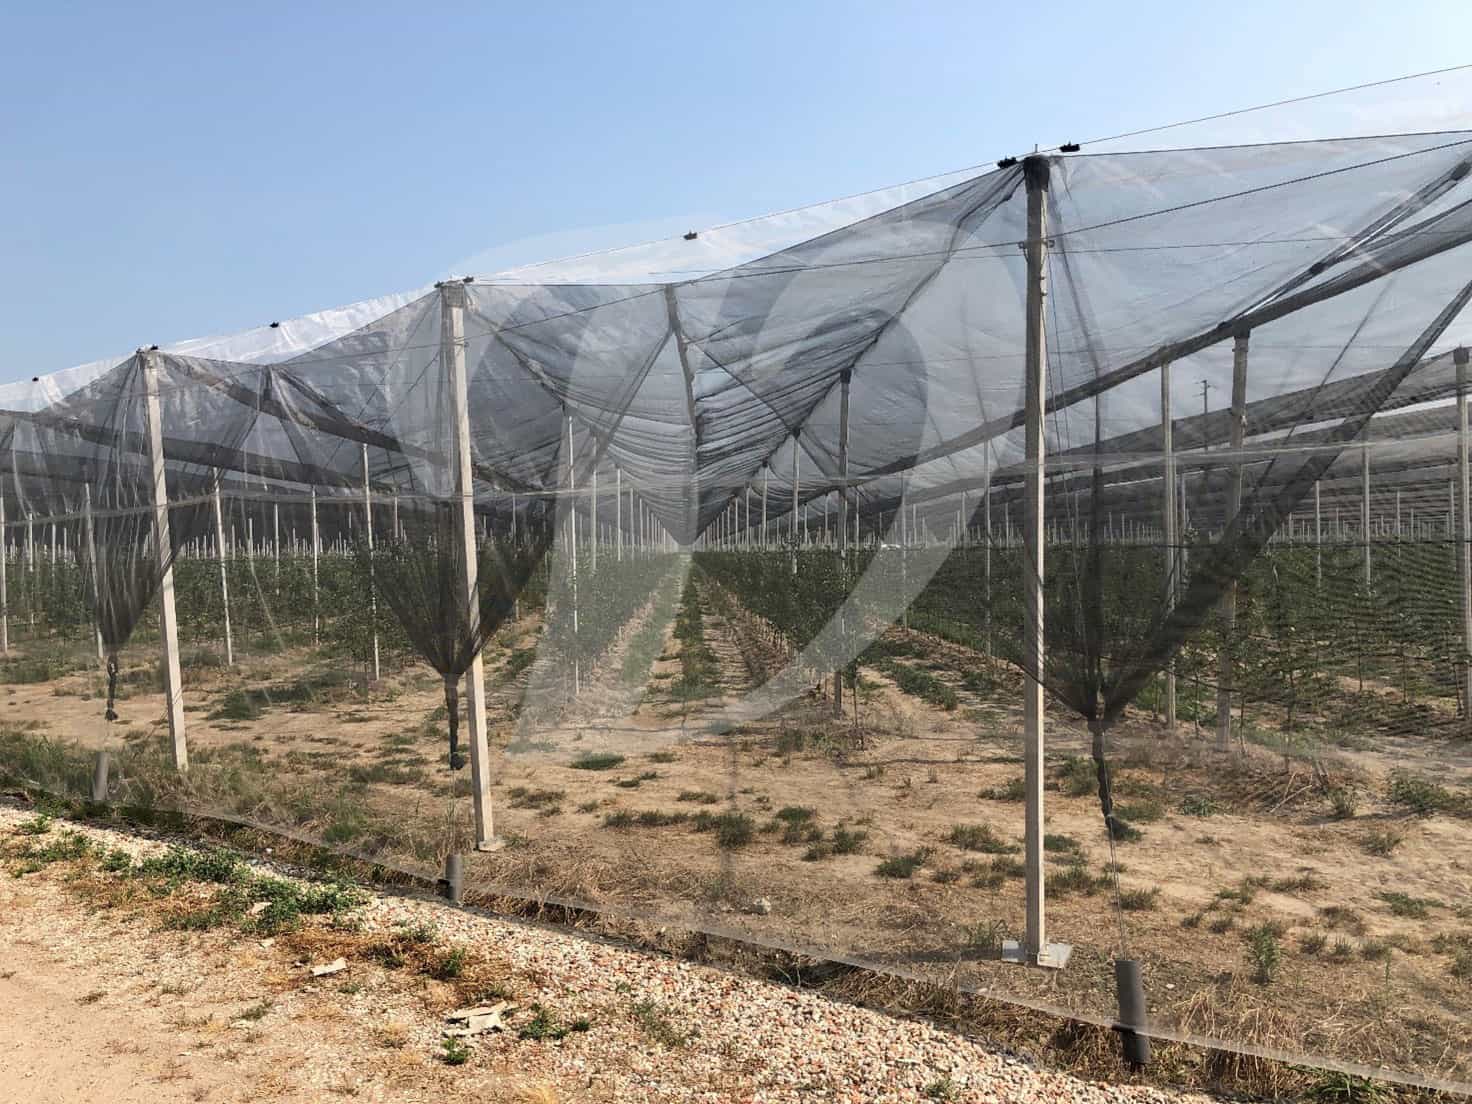
Obviously, in addition to these two aspects, we have to consider a third one, which is the quality of the net.
The type of monofilament, in fact, is crucial for the final result of our product (and there are several different diameters and qualities), as is the weaving of the net which guarantees the non-deformability of the mesh and, consequently, constant protection over time.
We have thus introduced the material, i.e. the net itself; now we must analyse its performance within the system, bearing in mind that without the quality of each single element we could not achieve the desired level of reliability.
As already mentioned, the net will snap over the top wire and under the transversal cable, connecting firmly to the system at several points. Firstly, the net is secured to each hood using the appropriate screw kit, as discussed in the previous article. A good screw kit should obviously include washers of a softer material (plastic or rubber) for the part that will be in direct contact with the net, so as not to damage it.
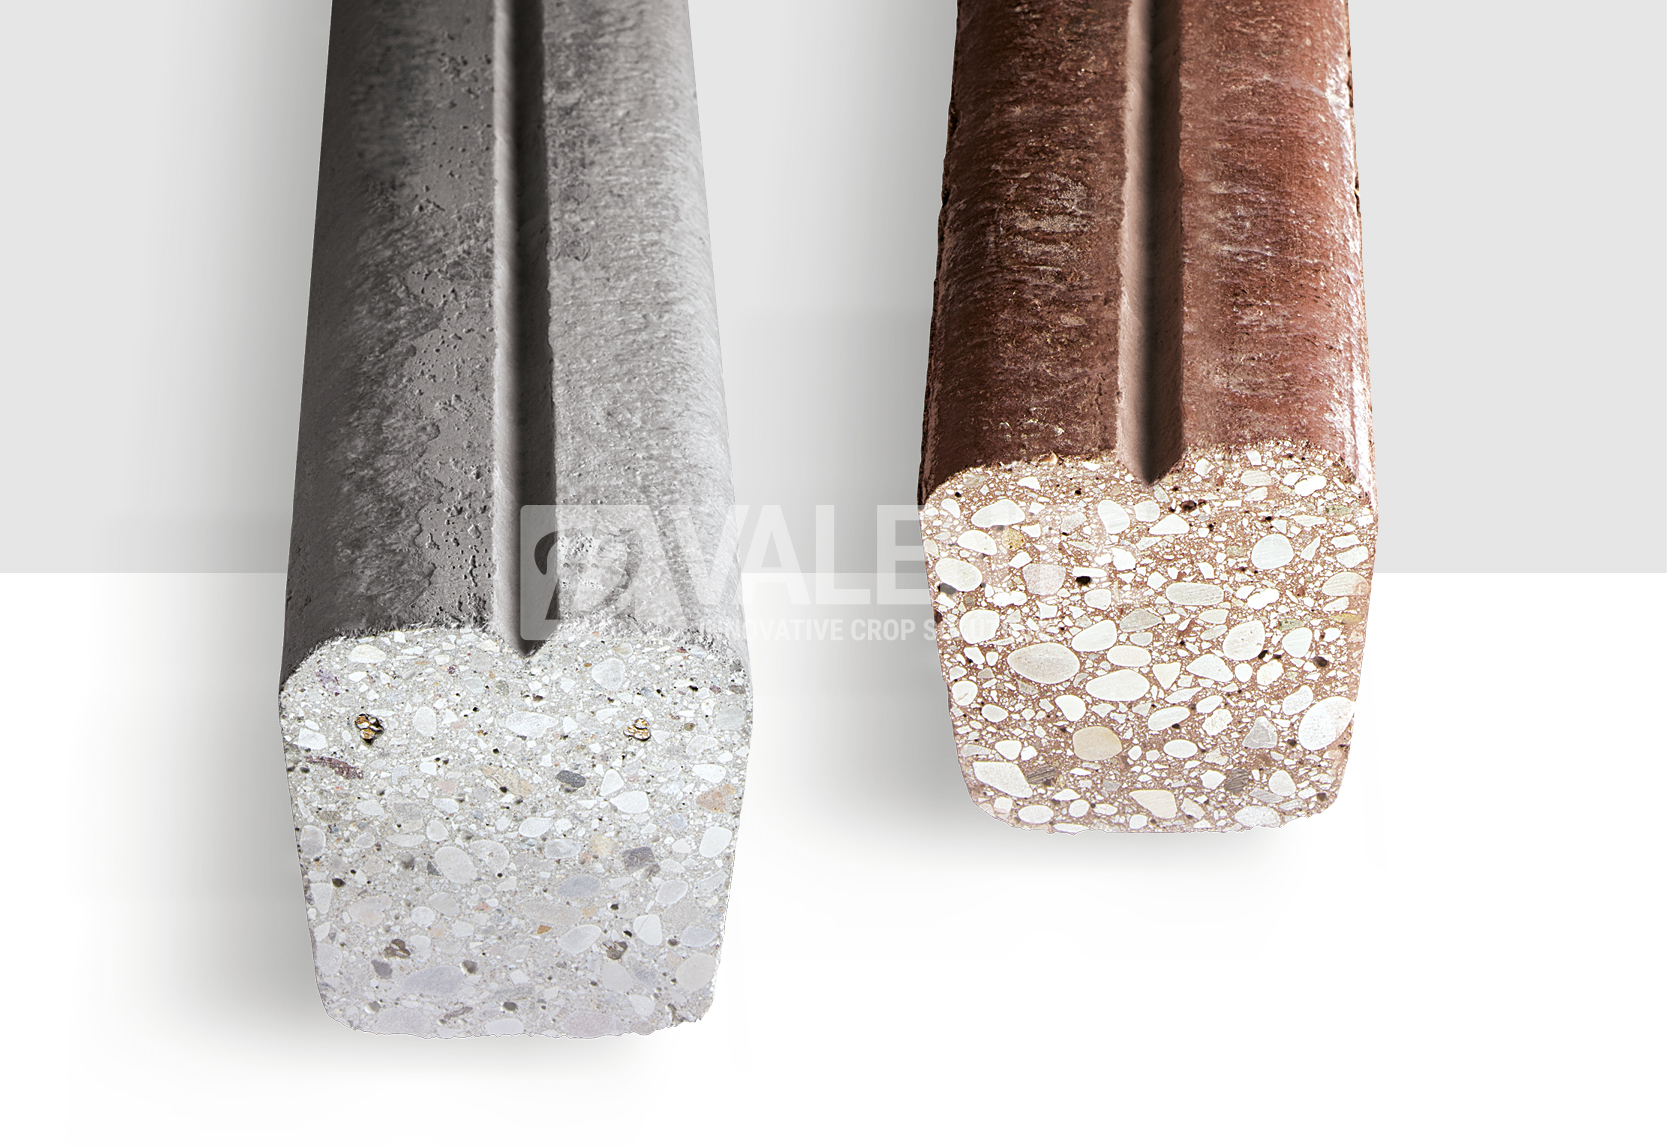
For this same reason, the hood should be long enough to cover the part of the post that could potentially come into contact with the net. To further protect, the posts are rounded during the last stage of production processing, thus removing the edges that could be another potential point of abrasion.
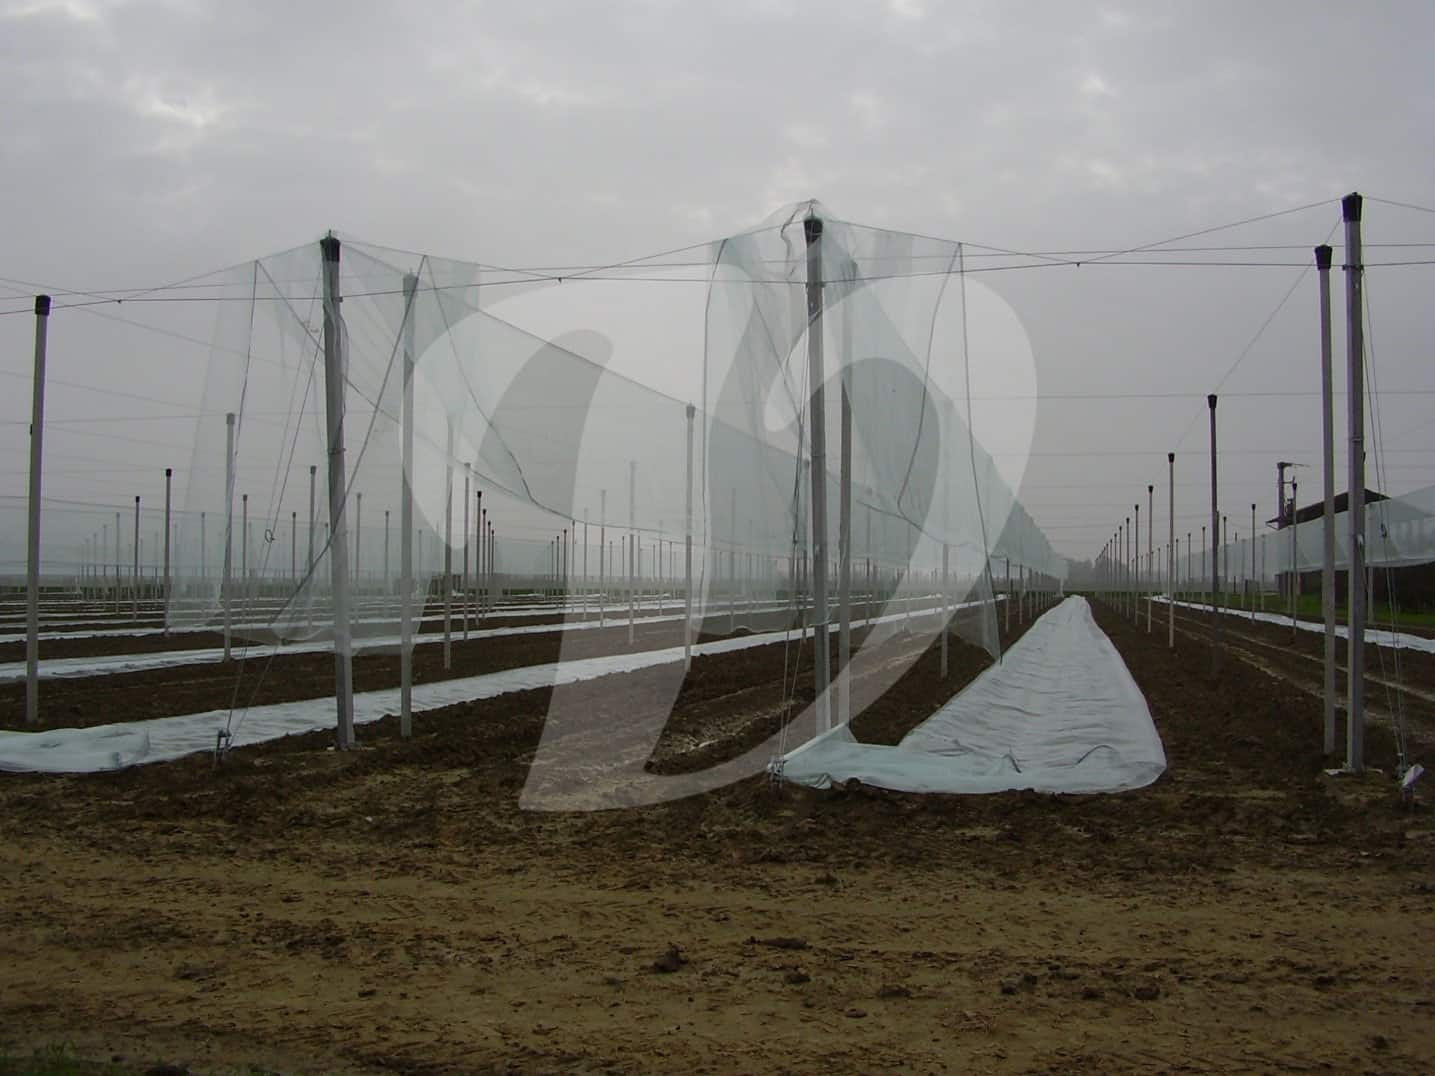
Moving on to installation, the most delicate step is "raising the net" (this term refers to when the net is uncoiled in the field and then lifted onto the top wire by means of the platform); at this point, the net remains suspended over the top wire and even the slightest breeze can cause it to get caught in one of the many "obstacles" of the system.
It is therefore essential to rely on a specialist installer who can carefully guide you through this delicate installation phase, starting by choosing the most suitable day from a weather point of view (i.e. no wind at all).
The net is then raised and laid on the top wire, where it will be blocked onto individual hoods and secured along all the rows. This step has a long history. Originally there was the stitching machine, a must-have for every professional installer, which literally sew the net along the central selvedge, just below the top wire. This critical operation ensured a perfect installation of the net (provided, of course, that it was carried out by professionals), but it also damaged the net because, as we all know, sewing means making many small holes that create a possible area of weakness at the point of greatest stress in the net. In addition, this operation made it particularly difficult to replace the net itself in case of problems. The combination of these two factors led to a move towards simpler fixing methods which, while ensuring a strong connection with the system, would not create weak points on the net and, at the same time, would be easy to undo if necessary.
After briefly using small iron needles, which were so easy to remove that even the wind could do it, we moved on to the plastic plates that we use today. By installing them along the top wire and inserting them into the net with the appropriate comb, we achieve the desired results. Obviously, the plates must meet certain requirements, in particular; their size must be adequate to provide sufficient pressure on the net, they must be made of a high-quality plastic (they will be exposed to the sun and cold constantly, always guaranteeing the same resistance) and, finally, they must be positioned at a suitable distance to equally divide the stress between them and reduce the tension on the hoods screw.
The central fixing is a completely different matter. To begin with, we have to deal with one of the most problematic phases of the whole installation: squaring the net. In fact, the netting meshes must match, remaining of their rectangular shape, without any stress. Moreover, the net must be tensioned without overstretching: too much tension would put too much stress on the net, but on the other hand, a relaxed net would give too much freedom of movement and would create looseness in the event of heavy hail. And here we come to another crucial point, the different attitudes to the central fixing of the net to facilitate the exit of hail.
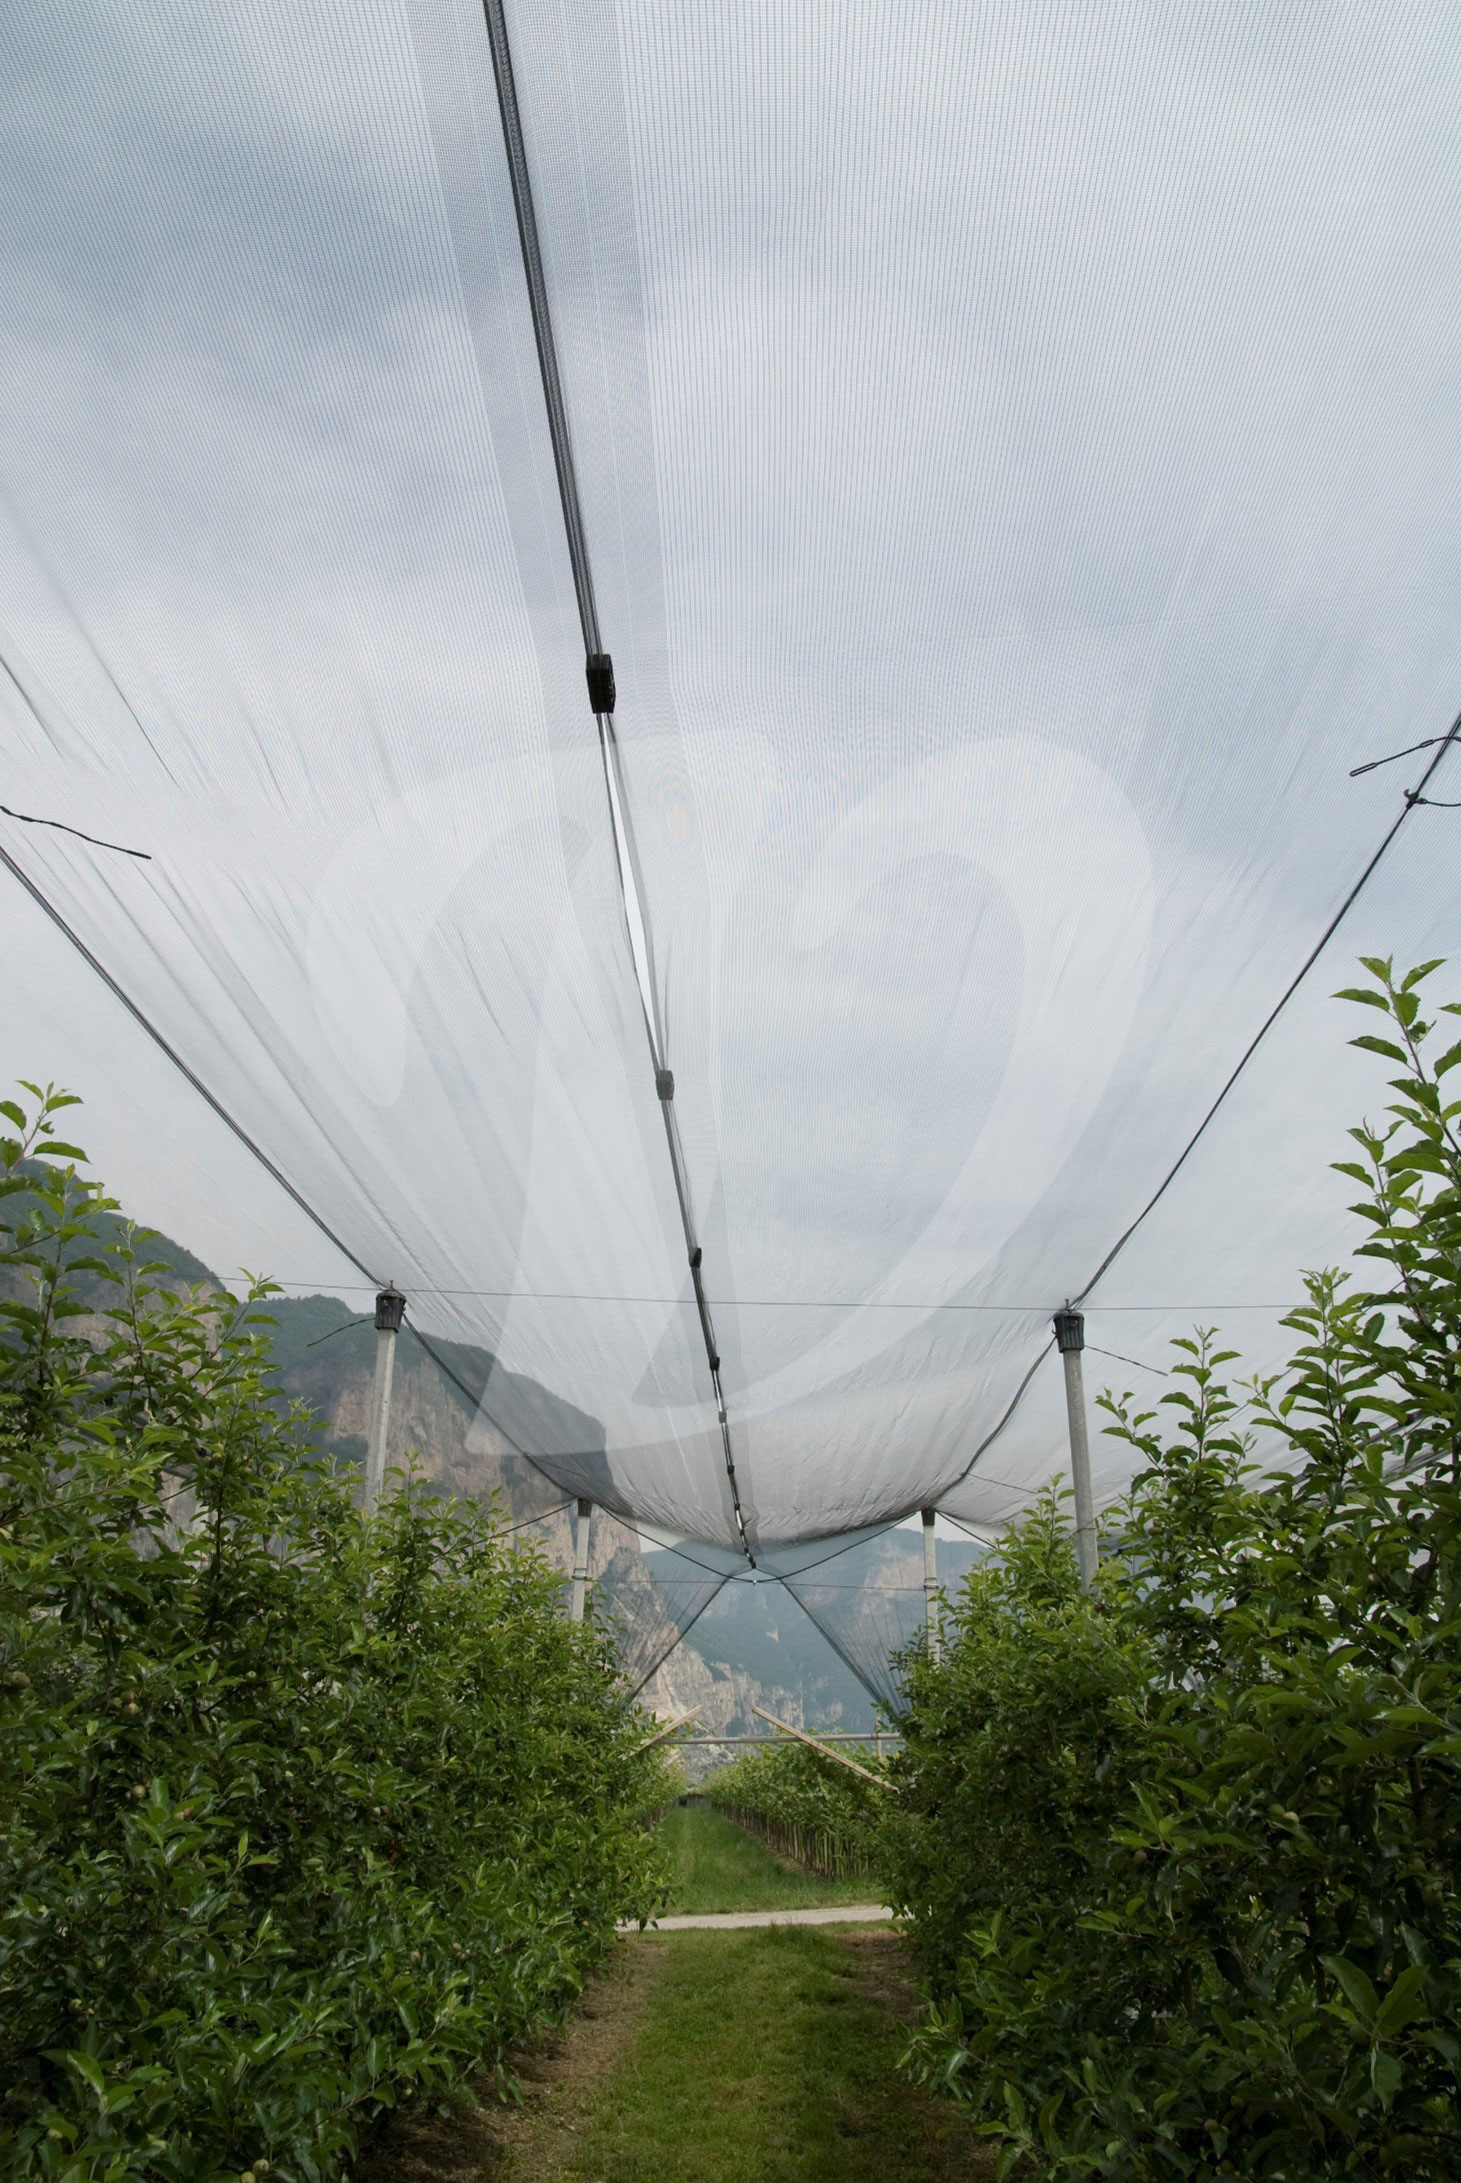
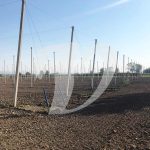
The truth is that no method will completely clear the net in the event of severe storms. The net is normally fixed in the middle with a row of plates, spaced at a distance of about one and a half metres, so that when there is a heavy load of hail, its weight will lower the net, creating some gaps from which the hail can partially exit, thus partially reducing the load on the system. In contrast to this fixing system we find the options with an elastic cable which, fixed in different ways, tries to facilitate (unnecessarily) the discharge of the remaining hail. We believe that the photo below is quite clear, heavy hailstorms will not be discharged "automatically" by the net alone.

Once the net has been centrally fixed, the installation can be considered complete and the only things that remain to be defined are the finishes, i.e. the connection to the head posts with or without the use of perimeter closures.
As far as the headers fastening is concerned, undoubtedly the most commonly used is the ring fastening, where the net "jumps" over the line of the head posts, lying on a cable (please remember that it should be plastic-coated, otherwise it will cut like butter) and then being tied to an iron ring fastened to the top wire about one and a half metres above the ground. Although the rings are the usual fasteners, they have their limits in this phase, i.e. the point where the net is most stressed during the “jump”, it is usually the first to wear and break, despite the plastic-coated cable. The occurrence of this phenomenon, besides the emergence of pests that are now widespread in Italy, has led to the closure of the system on the entire perimeter, thus evaluating both side and frontal closures, to keep the net in a horizontally, allowing the installation of side "walls" of net (not necessarily the same as that used on the top wire) that prevent pests from entering.
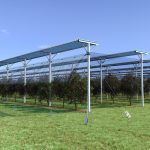
It is clear that the system will not be hermetically sealed (a result that can only be achieved with a greenhouse), but the perimeter closures have certainly proved effective in reducing the presence of these pests in our orchard. From this point of view, the tunnel has undoubtedly proved to be the best solution on newly installed systems, allowing the system to be extended beyond the line of the head pile and ensuring the free movement of agricultural vehicles inside it. This undoubtedly represents the new frontier of anti-hail systems, with farmers already projected into a future where the tropicalisation of our peninsula will bring more and more pests to interfere with their work.
For existing installations, an effective solution is our Kalamita system, which involves the installation of magnets placed at a set distances applied to the appropriate net, providing "automatic" closure, without requiring extra space.

We have come to the end of our journey into "Why installations fall"; a long but necessary insight into the various steps, and a clear message that nothing is left to chance, everything is studied in detail so that you can sleep soundly and enjoy the fruits of your labour.